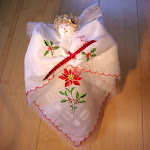
 This was a good day for getting to an unfinished project. My mom stitched the animals years ago. She used to stitch directly onto shirts for my brothers, but she's not here anymore.. so this is what I did so that they would have new shirts with "old stitching".

 I ironed "heat N bond light" to the back of each stitched piece; then cut them to the desired shape. Basically, this means simply cutting around the design, leaving about 1/2 inch all around.
 Note: Use "light" rather than heavy duty Heat N Bond.... the heavy duty will gum up onto the needle later when you stitch the design in place. Very annoying!
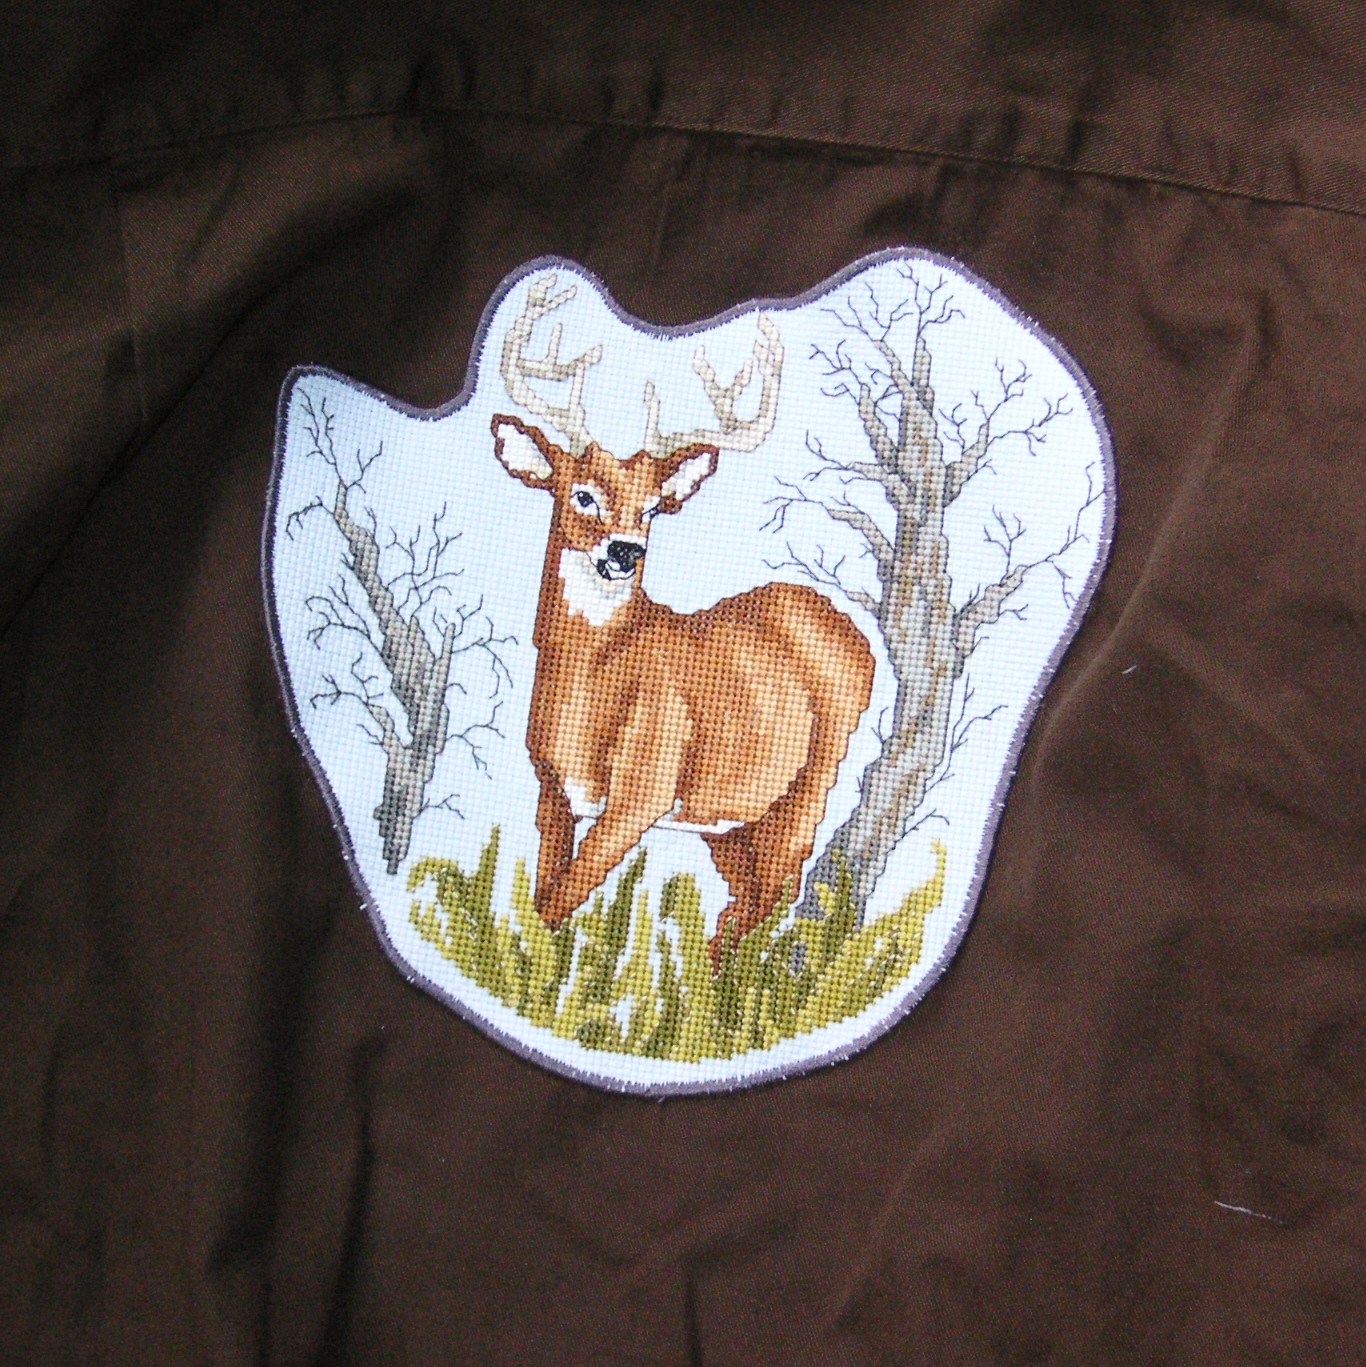
After the piece has cooled peel the paper backing off. Position the piece right side up on the center back of the shirt. I folded the shirt and gave it a slight crease to insure that the design would be placed in the center, and straight.
Then, iron again. I ironed from the front, then turned the shirt over and ironed from the back to insure a good bond.
Note: Ironing from the back of the shirt raises the stitching slightly giving it a bit of dimension.
 Once the shirt with bonded on stitching has cooled you can move to the sewing machine. Set the machine for a 3.5 mm zigzag stitch with a buttonhole stitch length. On my machine, that's about #1. I put a buttonhole presser foot on the machine, mostly so that I would have a good visual of where I was stitching. Also you will want a size 12 or 14 needle in your machine.
Begin stitching at the bottom... keep stitching around the edge till you come back to where you began. Then, stitch over it a second round for better coverage. Trim threads, and Done!!
Voila!!
 I used new shirts that my brother brought to me, and he selected which animal print for each shirt.... come to think of it... I have 4 brothers, and only 3 completed shirts! Did I agree to get the 4th shirt? Guess I'm not finished with this project after all!
 I used new shirts that my brother brought to me, and he selected which animal print for each shirt.... come to think of it... I have 4 brothers, and only 3 completed shirts! Did I agree to get the 4th shirt? Guess I'm not finished with this project after all!
The shirt with iron-on can be washed and dried by machine. Because it is stitched, it will not come off, in the way that it might if you simply ironed the design onto the shirt without the zigzag stitching. The stitching will probably outlast the life of the shirt. This could be a good thing!
When ironing the shirt (if you must), be sure to iron the stitched area from the back as your final step. Just turn the shirt over on the ironing board and give it a good steam/press.